So without further ado, let me now share the stuffs we did with our letter E activities.
E is for Elephant craft


e is for Elmo craft


Since I have friends who's asking me if I were using templates for these letter crafts, and some even asking for a link were to download it. For the record, all of the letter crafts we did were all hand drawn and pre-cutted by me (I sometimes let Lady bug cut simple and small shapes like the squares and triangles we had on our Alligator and Dinosaur crafts, to practice her scissor skill). But I admit the idea is certainly not from me, I also research and check the world wide web for ideas and inspirations from others.
Letter Recognition
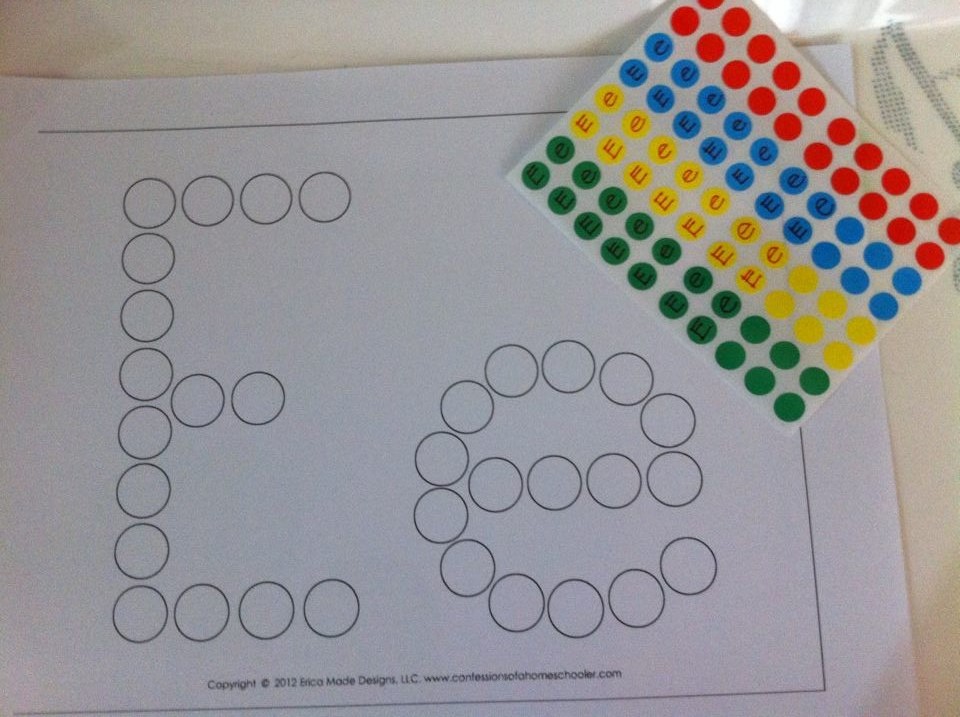
Forming while sorting capital letter E and small letter e using circle sticky labels. I write capital letter E and small letter e on sticky labels, so basically she's not only forming the letters but also sorting it to make her more familiar with their formation difference.


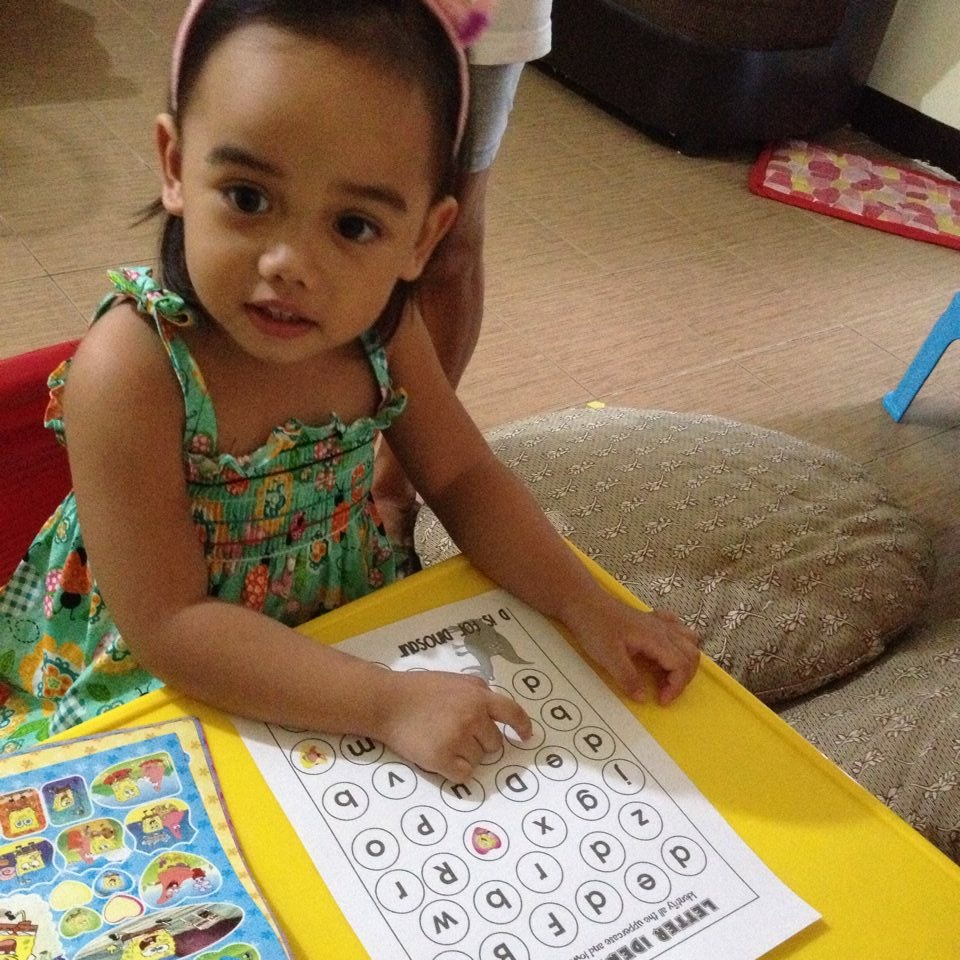
Another letter recognition activity. We had a lot of fun with this white crayon resist activity. I pre-write the letter E and e on a white paper, I then asked her to paint the white paper, you should see how amazed she was when a letter magically appear after she painted it with watercolors. It's now time to asked whether the letter she found was a capital E or small e.


We also did a little math along with this activity, by counting how many the capital and how many small letters we found.
We also had capital & small letter Ee hunting and stamping.

Letter Tracing
Tracing is a great activity to practice writing skill. I just recently found a cheap letter tracing guide at the St. Francis Square in Ortigas, they have it in both alphabets (for 120.00php) and numbers (for 79.75php).


Vocabulary
E is for Emotions. Of all the activities we did this was lady Bug's favorite.
See how happy she was while making different face emotions.


I'll be sharing the step by step instruction on how I made this magnetic emotions. This may look like a complicated one but this is actually easy to prepare.
Materials:
1. Any metal/tin board.
2. Freehand drawn eyes, eyebrows and mouths on a piece of paper. (I use marker pens so the lines will be thicker).
3. Magnetic sheet/strips.
4. A pair of googly eyes.
5. Transparent packaging tape.
6. Double sided tape
7. Scissors.
Instruction:
1. Cut the freehand drawn eyes, eyebrows and mouths following its shapes, I cut mine not too close on the drawn object so there would be enough space to conceal the strip of magnet at the back.
2. Place a strip of magnet at the back of each drawn objects and wrapped it with transparent packaging tape, then sniff of those extra tape around the object, to prevent it from tearing easily and make it last longer. If you have a laminator machine you may laminate it before atta attaching a piece of magnetic strips at the back.
3. Attached also magnetic strip on the back of your googly eyes using a double sided tape.
4. Finally draw a circle on your metal board.


You can now have fun making emotions with your DIY magnetic emotions.

silly face

scared face

surprised face

angry face

sad face

happy face
After doing this activity, while cleaning up the materials I used in making this project, I found this circle tin can on my storage box. It is actually a candy container from Japan, a pasalubong (homecoming treat) from a friend. Anyway upon seeing the container I knew exactly that this would be perfect for our magnetic faces. This would be a great travel kit activity for kids, since it has a lid it can hold all the magnetic pieces inside when not in use and when using it during travels, the container will hold the unused pieces while the lid can be used to make different emotions.


Bible Story/Character.
E is for brave and beautiful Queen Esther. Again we read the story of Queen Esther on our Kids Bible App and learned how God used Queen Esther to saved his people. After reading the story we made this crown craft using a foam sheets and sticker gems to decorate it.


Books.
Our featured books for this activity was about the Elephant fun and 2 of the Elmer the Elephant series which is Elmer's weather and Elmer's friends (one of Lady Bug's favorite books)

Till our next activity. Bye bye!!! =)